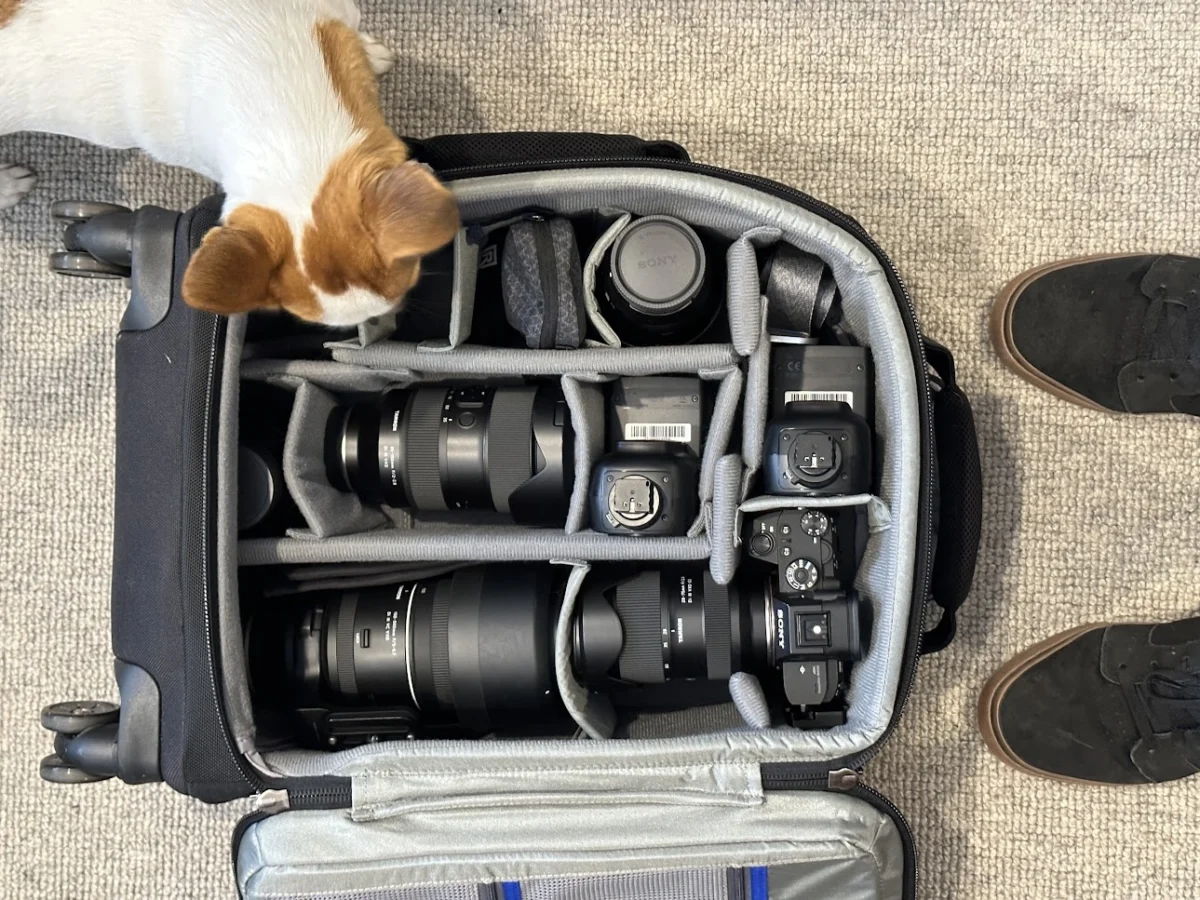
For many amateur photographers, the external flash is the most intimidating piece of equipment in the camera bag. It sits in a corner, often relegated to the status of a "dust collector," while the photographer sticks to the familiar comfort of natural light. The technical jargon—TTL, guide numbers, sync speeds, and bounce angles—can feel like a barrier to entry, turning a simple creative tool into a source of anxiety.
However, as many professionals eventually discover, flash is not a complex dark art reserved for wedding photographers with elaborate five-light setups. It is, quite simply, the ultimate tool for creative control. Once you move past the initial intimidation, flash becomes the most efficient way to elevate the quality of your imagery. This article breaks down the essential principles of flash photography, transforming the "scary" into the "sublime."
The Core Facts: Understanding Light Manipulation
At its heart, flash photography is not about adding "more light"; it is about achieving control over the light that exists in your scene. The common myth that "flash equals harsh, blown-out photos" stems from a misunderstanding of how light interacts with a subject.
When a beginner attaches a speedlight to their hotshoe and fires it directly at a subject, they are creating a small, concentrated light source that mimics the intensity of high-noon sun. This results in the infamous "deer-in-the-headlights" look: flat, unnatural, and unflattering. The solution is simple: modification. By bouncing the flash off a ceiling or a wall, or by moving the flash off-camera, you effectively increase the size of your light source. Physics dictates that the larger the light source relative to the subject, the softer the transitions between light and shadow. By manipulating this, you are no longer just capturing an image; you are sculpting it.
Chronology of the Flash Journey: From Fear to Mastery
Most photographers follow a predictable path when learning to use artificial light. Understanding this progression can help you navigate your own learning curve with less frustration.
The Stagnation Phase
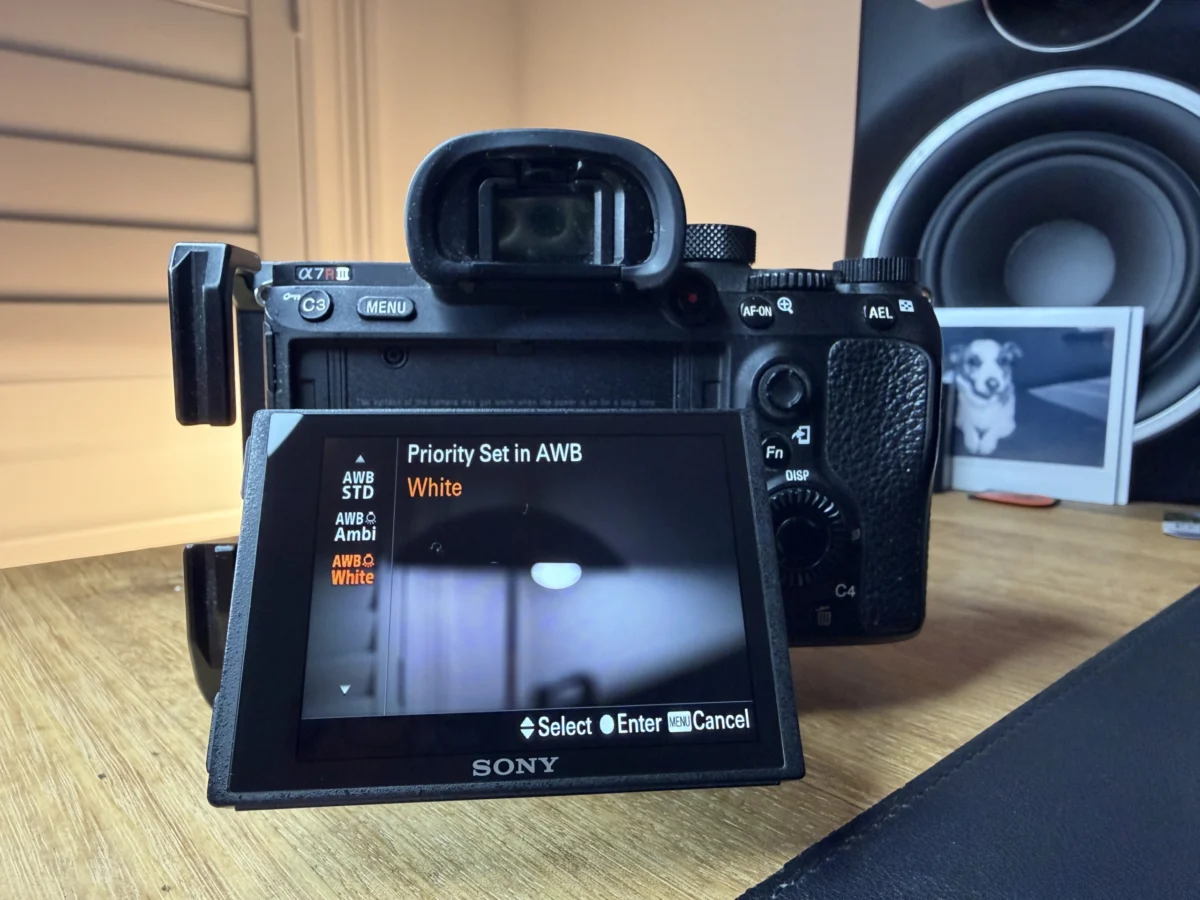
The journey usually begins with the purchase of a dedicated flash unit. For weeks or even months, it remains in the bag. The photographer stares at the LCD screen, overwhelmed by settings like TTL (Through-The-Lens metering) and exposure compensation. During this period, the fear of "getting it wrong" leads to total avoidance.
The Experimental Phase
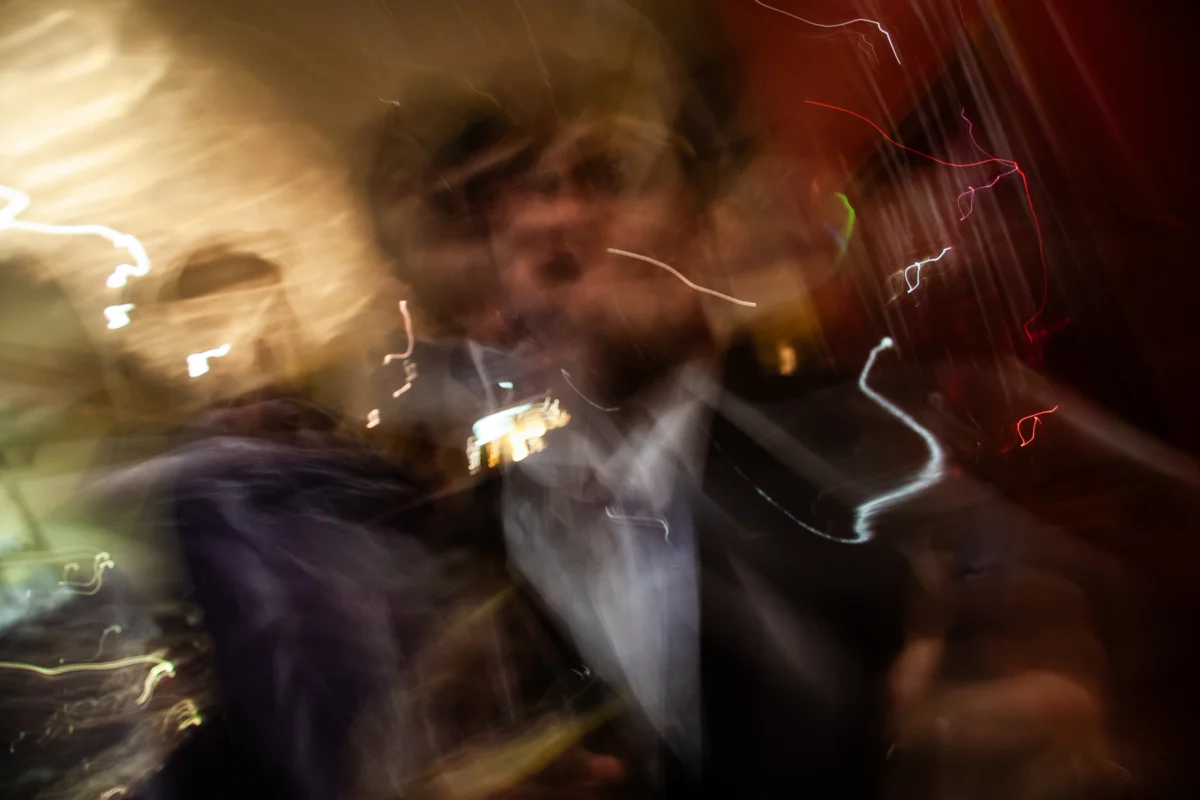
Eventually, curiosity overcomes hesitation. The photographer fires the flash for the first time, likely directly at the subject. The results are disappointing—overexposed faces and dark, muddy backgrounds. This is the "gotcha" moment where many quit. However, those who continue begin to experiment with angles and bouncing. They discover that the light can be redirected, softened, and balanced.
The Integration Phase
Once the photographer realizes that digital photography makes mistakes virtually free, the learning accelerates. The photographer starts to view the flash not as a separate entity, but as a component of their natural light workflow. They stop viewing flash as a "last resort" for dark rooms and start using it to supplement, enhance, and control the existing environment.
Supporting Data and Principles
To master flash, one must understand why certain techniques produce professional results. Here are the pillars of the craft:
1. Freezing Motion Beyond Shutter Speed
While photographers often crank their shutter speeds to 1/2000s or faster to capture a moving subject, this frequently results in grainy, underexposed images in low light. The professional alternative is to utilize flash duration. A flash burst can be as fast as 1/20,000s, far exceeding the capability of a mechanical shutter. When the flash is the dominant light source in a dark environment, the duration of the burst effectively dictates the sharpness of the moving subject, allowing for crisp action shots at lower, more manageable shutter speeds.
2. Negotiating with the Midday Sun
High-noon sun is often the enemy of portraiture because it creates deep, harsh shadows under the eyes and nose. Beginners often avoid midday shoots entirely. However, a light "fill flash" can neutralize these shadows, softening the contrast and lifting the details of the subject’s face. You aren’t replacing the sun; you are simply negotiating with it to ensure your subject looks their best.
3. Solving the High-Contrast Dilemma
Backlit scenes—such as a subject standing before a bright window—create a massive dynamic range problem. Without flash, the camera is forced to either blow out the background or leave the subject as a silhouette. Flash allows for a dual-exposure strategy: the camera exposes for the background, while the flash provides the specific amount of light needed to illuminate the foreground subject.

Professional Perspectives on Equipment
A persistent misconception is that high-end photography requires a massive, expensive studio strobe kit. In reality, 90% of a beginner’s needs can be met with a single speedlight, a shoot-through umbrella, and a light stand—often totaling less than $150.
Professional photographers emphasize that studio strobes are designed for output and rapid recycling times—necessities for large-scale event photography—not because the light quality is inherently superior to a well-used speedlight. For the aspiring photographer, the priority should be learning the direction, intensity, and modification of light, rather than accumulating hardware.
Implications: The Shift in Perspective
The most significant takeaway from learning flash is the change in how a photographer perceives the world. When you are forced to consciously decide where your light originates, how strong it is, and how soft it should be, you develop a "lighting eye."
This habit does not vanish when you turn the flash off. Once you understand the physics of light through deliberate manipulation, you start to see natural light differently. You become aware of the direction of the sun, the quality of light through a window, and the soft, diffused light of an overcast day.
Avoiding the Common Pitfalls
- The "Deer-in-Headlights" Error: Never fire a bare flash directly at a subject from the hotshoe. Always seek a surface to bounce the light from or use a modifier.
- The "Magic Hour" Trap: Do not limit your creative output to sunrise and sunset. Learn to use flash to create your own "good light" at any time of day.
- The "Silhouette" Misconception: If you are shooting against a bright background, don’t sacrifice your subject’s exposure. Use fill flash to balance the scene.
- The "Separate Skills" Fallacy: Stop thinking of natural light and artificial light as two different domains. They are the same physics; you are simply choosing whether the light comes from the sun or a battery-powered unit.
Conclusion
The transition from a flash-phobic photographer to one who confidently wields light is a journey of trial and error. The digital age provides the perfect sandbox for this experimentation. Mistakes are no longer costly; they are simply data points that inform your next shot.
By mastering these six foundational concepts, you move from being a passive observer of light to an active creator. Whether you are shooting portraits, products, or candid moments, the ability to control your light is the single greatest "upgrade" you can give your photography—far more impactful than any new lens or camera body. Take the flash out of your bag, embrace the learning curve, and start sculpting the world as you see it.