The deadlift is often cited as the "king of exercises," a foundational movement that tests the limits of human strength and structural integrity. Yet, for many athletes—from weekend warriors to seasoned powerlifters—the performance issues that plague a heavy pull don’t occur at the lockout; they originate in the first few inches off the floor. If your starting position is compromised, your entire kinetic chain is destined to fail before the bar even breaks the contact of the floor.
As renowned strength coach Matt Wenning emphasizes, the deadlift is not merely a test of brute force; it is an intricate dance of mobility, stability, and tension. To pull heavy, you must first master the art of the setup.
The Anatomy of a Flawed Pull: Why the Start Matters
A common misconception is that the deadlift is a simple "grip and rip" movement. In reality, the bottom position is a high-stakes alignment puzzle. When you approach the bar, you are creating a system of levers. If your hip mobility is insufficient, your body will naturally seek the path of least resistance, often resulting in lumbar rounding.
Other frequent culprits include dropping the hips into a squatting pattern, losing tension in the hamstrings, or allowing the bar to drift away from the shins. Each of these mechanical inefficiencies turns a difficult exercise into an impossibility. When you lose your "starting block," you dissipate the force you’ve generated, forcing your lower back to bear a load it wasn’t designed to carry in a compromised position.
Testing Your Foundation: Can You Own the Bottom?
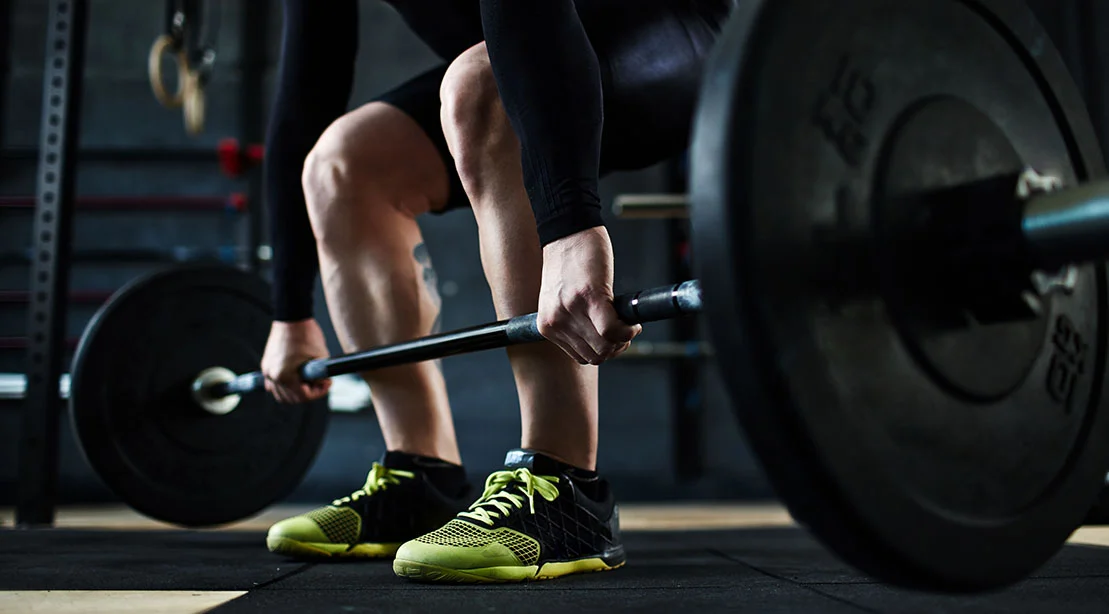
Before you can correct your form, you must diagnose the underlying issues. Load a barbell with a modest weight—a 45-pound plate on each side—and step into your standard deadlift stance, ensuring the bar is positioned over your midfoot. Hinge at the hips, grip the bar, and generate maximum tension as if you are preparing to initiate the lift.
Hold this position for three seconds without lifting the weight. During this static hold, focus on the following:
- Spinal Neutrality: Is your lower back rounded, or is your spine braced and neutral?
- Lat Tension: Are your lats engaged, pulling the bar tight against your shins?
- Weight Distribution: Do you feel grounded through your midfoot, or is your weight shifting to your toes or heels?
- Hamstring Engagement: Can you feel the tension in the back of your legs, or are they slack?
If you feel stable, braced, and aligned, you are in a prime position to pull. If you feel "loose" or notice your hips rising prematurely, you have identified a mobility or motor-control deficit that demands immediate attention.
The Pillars of a Clean Pull: Essential Components
To move heavy weight safely, several physiological pillars must work in concert.
Hip Flexion and Pelvic Control
Your hips are the hinge point of the deadlift. Sufficient hip flexion is mandatory to allow your torso to reach the bar while keeping the spine protected. Without the necessary range, the pelvis will tilt, causing the lower back to compensate, which is the primary driver of deadlift-related injury.
Hamstring and Adductor Mobility
The hamstrings and adductors act as the "cables" that anchor your hips. If these tissues are chronically tight, you cannot hinge effectively. You will either be forced to round your back to reach the bar or drop your hips so low that the movement loses its hinge mechanics, transforming it into a poor-quality squat.
Ankle Dorsiflexion
While the deadlift is not a squat, it requires a degree of ankle mobility. Your shins must move forward to make contact with the bar. If your ankles are stiff, you’ll either push the bar away from your body—increasing the length of the lever arm and making the lift heavier—or you’ll be forced onto your toes, losing your balance.
Thoracic Mobility and Lat Engagement
A neutral spine starts at the neck and ends at the sacrum. If your upper back is locked, you cannot maintain a rigid torso. Furthermore, engaging the lats—often cued as "squeezing an orange in your armpits"—is the only way to ensure the bar stays glued to your legs. A bar that drifts away increases the mechanical disadvantage, putting immense strain on your lumbar discs.
Common Setup Mistakes and Their Remedies
Before seeking out complex mobility drills, it is vital to audit your technique. Often, a lifter’s "mobility issue" is actually a technical error.
The "Squatting" Deadlift
Many beginners mistakenly drop their hips too low, turning the deadlift into a squat with the bar in their hands. This causes the knees to push the bar forward, moving it away from the center of gravity and destroying hamstring tension.
- The Fix: Prioritize the hinge. Push your hips back until you feel the tension in your hamstrings. Your shins should remain as vertical as possible, and your shoulders should be slightly ahead of the bar.
The "Stiff-Leg" Syndrome
Conversely, starting with the hips too high mimics a stiff-legged deadlift, which removes the quadriceps from the movement and places the entirety of the load on the lower back.
- The Fix: Engage the lats to "set" your lats and bring your chest up, which will naturally drop the hips into the correct starting position.
5 Mobility Drills to Own the Bottom Position
If your mobility is truly the bottleneck, incorporate these five drills into your warm-up routine to prime your body for a successful pull.
1. Chair Sumo Deadlift
As advocated by Matt Wenning, the Chair Sumo Deadlift is a masterpiece of motor patterning. By placing a chair behind you, you have a physical target that forces you to sit your hips back into the hinge.
- Why it works: It trains the brain to find the "sweet spot" of the hinge while challenging hip abduction.
- Execution: Stand in a wide sumo stance with a chair behind you. Hinge at the hips until your glutes touch the chair, then return to standing.
- Programming: 2–3 sets of 6–10 repetitions.
2. Half-Kneeling Hamstring Mobilization with Ankle Rocker
This dual-purpose drill addresses the two most stubborn areas: hamstrings and ankles.
- Why it works: It lengthens the hamstrings while maintaining the tension required for the deadlift, and it improves dorsiflexion by forcing the knee over the toes in a controlled manner.
- Execution: Get into a half-kneeling position. Extend your front leg and hinge forward to stretch the hamstring, then lean forward into the front knee to mobilize the ankle.
- Programming: 1–2 sets of 6–10 reps per side.
3. Goblet Prying Squat
While the deadlift is not a squat, the range of motion required at the bottom is similar.
- Why it works: Using a kettlebell to "pry" the hips open improves adductor flexibility and ankle mobility, allowing for a deeper, more comfortable starting position.
- Execution: Hold a kettlebell at your chest, descend into a deep squat, and use your elbows to push your knees outward. Hold and shift your weight side-to-side.
- Programming: 1–2 sets of a 30-second hold.
4. Rockback Breathing with Double-Elbow Reach
Overactive lats can sometimes lead to excessive spinal extension, which is just as dangerous as rounding.
- Why it works: This drill reduces resting tension in the lats and lower back, allowing the ribcage and pelvis to align.
- Execution: Get into a quadruped position, rock your hips back toward your heels, and reach your elbows forward while breathing deeply into your upper back.
- Programming: 2 sets of 5 breaths during your warm-up.
5. Straight-Arm Band Pulldown into Deadlift Hold
This is the final piece of the puzzle: learning to maintain lat tension while hinging.
- Why it works: By using a resistance band, you force your lats to work against a force that wants to pull the bar away, simulating the feeling of a heavy barbell.
- Execution: Anchor a band overhead. Pull the band down toward your thighs, lock your lats, and perform a slow, controlled hinge.
- Programming: 2–3 sets of 5–8 controlled reps.
The Final Pull: A Holistic Approach
The quest for a massive deadlift is a journey of refinement. It is not about simply moving more weight; it is about moving weight more efficiently. By addressing your mobility constraints and refining your setup, you move from "fighting" the bar to "owning" it. Remember, the deadlift begins long before the weights leave the floor—it begins the moment you approach the bar. Take the time to build your foundation, and the weight will follow.