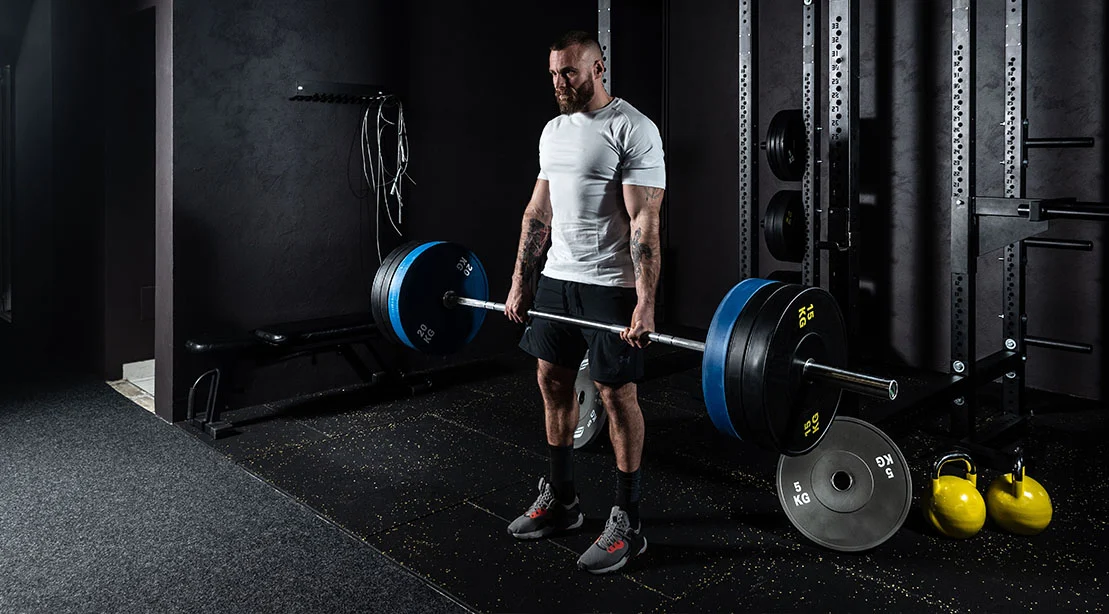
In the world of strength training, few exercises offer as much "bang for your buck" as the Romanian deadlift (RDL). It is a staple movement for anyone looking to build posterior chain dominance, targeting the glutes, hamstrings, and erector spinae with surgical precision. Yet, despite its popularity, the RDL is frequently mismanaged. Many lifters treat it as a casual "bend-over-and-hope" movement, rushing the setup in a misguided attempt to reach the working set faster.
However, professional strength coaches and biomechanics experts agree: the success of an RDL is determined in the seconds before the barbell even leaves the rack. Skipping the setup process doesn’t just reduce muscle activation—it invites injury and shifts the load from the intended target muscles to the vulnerable lower back. To maximize hypertrophy and minimize risk, lifters must treat the setup as an essential, non-negotiable phase of the lift.
The Anatomy of the RDL: Why Setup Matters
The Romanian deadlift is not a simple hinge; it is a sophisticated exercise in tension management. The objective is to lengthen the hamstrings under load while maintaining a rigid, neutral spine. If the setup is flawed—if the feet are not "rooted," the lats are limp, or the core is soft—the barbell will inevitably drift away from the center of gravity.
When the barbell drifts, the lever arm between the weight and your lumbar spine increases, forcing the lower back to compensate for the lack of tension in the posterior chain. This is why many lifters complain of "lower back pumps" rather than glute or hamstring soreness. By refining your pre-lift checklist, you move the focus back to where it belongs: the muscles of the posterior chain.
The Chronology of a Perfect Setup: A 7-Step Protocol
To ensure consistent, high-quality repetitions, every lifter should follow a standardized pre-lift checklist. While these steps may feel tedious for a beginner, they become muscle memory with repetition, eventually transforming into an automatic, seamless sequence.
Step 1: Optimizing Rack Height
The setup begins with your relationship to the equipment. J-hooks should be positioned so that you can unrack the barbell with a slight, manageable bend in the knees. If the hooks are too high, you risk straining your traps or shifting onto your toes; if they are too low, you are forced into a partial deadlift just to clear the rack, wasting energy before the set even begins. Aim for a height that allows you to "stand tall into the bar" and step back with minimal effort.
Step 2: Rooting the Feet
Your foundation dictates your force production. Start with your feet roughly hip-width apart. To create a "tripod foot," ground your heel, the base of your big toe, and the base of your little toe firmly into the floor. Imagine "screwing" your feet into the ground—this external rotation creates immediate tension in the outer glutes, preparing them to act as the primary movers for the hinge.
Step 3: Establishing a Secure Grip
The hands serve as the bridge between your central nervous system and the weight. A double-overhand grip, with hands positioned just outside the thighs, is standard. Keep the bar low in the palms and maintain neutral wrists. The goal here is to "crush the bar," creating tension that radiates from the forearms through the biceps and into the upper back. If grip strength becomes a limiting factor, there is no shame in using lifting straps; remember, the goal is to fatigue your glutes and hamstrings, not your forearms.
Step 4: The Knee Unlock
The RDL requires a "soft knee." A slight bend prevents the movement from becoming a stiff-legged deadlift (which limits range of motion) or a squat (which shifts the focus to the quads). The cue is simple: "Unlock your knees, then freeze them." Once you have achieved that initial bend, the angle should remain constant throughout the descent.
Step 5: Lat Engagement
Your lats are the secret to keeping the bar close to your body. By pulling your shoulders down and away from your ears, you lock the barbell into your center of gravity. Think of it as "bending the bar around your legs." This tension prevents the dreaded "bar drift," which is the primary cause of lumbar strain in the RDL.
Step 6: The 360-Degree Brace
A strong core is the armor that protects your spine. Before initiating the hinge, take a deep breath into your abdomen, sides, and lower back—filling your torso with air like a pressurized cylinder. Do not suck in your stomach; instead, focus on creating outward pressure against your abdominal wall. This brace must be held throughout the entire range of motion to ensure the ribs remain stacked over the pelvis.
Step 7: Head and Neck Alignment
The position of the head is often overlooked. Avoid staring straight ahead in the mirror, as this leads to hyperextension of the neck as the torso lowers. Instead, allow your gaze to follow your torso. Keep your neck long and neutral, imagining it as an extension of your spine.
Supporting Data: The Mechanics of Tension
Biomechanically, the RDL is an exercise in managing the "moment arm." The further the barbell is from the hip joint, the more torque is placed on the lower back. Research into EMG (electromyography) activity consistently shows that when the lats are fully engaged and the bar is kept in contact with the thighs, gluteal activation increases significantly. Conversely, when the bar drifts forward by even two or three inches, the spinal erectors must work exponentially harder to maintain torso stability, leading to premature fatigue and decreased training efficiency.
Expert Consensus and Coaching Insights
Professional coaches emphasize that the RDL is not about the "depth" of the movement, but the "quality" of the stretch. If you find your back rounding, you have exceeded your active range of motion.
- Common Error: Squatting the RDL. When the knees continue to travel forward during the descent, the movement loses its hinge characteristics. Remember: once the knees are unlocked, they must remain stationary.
- Common Error: Rushing the Eccentric. The muscle-building benefits of the RDL are found in the lowering phase. A controlled, three-second count on the way down ensures the hamstrings are under constant tension.
- Common Error: Hyperextension at Lockout. Many lifters try to "force" the finish by arching their back. This is unnecessary. Stand tall, squeeze the glutes, and stop once your hips and knees are fully extended.
Implications for Your Training Program
Integrating this seven-step checklist into your routine will have profound implications for your training longevity and physical development. By standardizing your setup, you reduce the "noise" of the movement, allowing you to focus on the mind-muscle connection.
For the competitive lifter, this means more weight moved with less risk of injury. For the aesthetic-focused gym-goer, this means consistent hypertrophy of the glutes and hamstrings. The RDL is a tool of immense power, but only if the user understands the mechanics of the machine.
Conclusion: The Final Hinge
The journey to a better RDL is not found in adding more weight to the bar, but in refining the quiet, technical moments that precede the lift. By prioritizing the setup—rooting your feet, bracing your core, and locking in your lats—you transform the RDL from a dangerous, back-straining chore into the most effective posterior chain exercise in your arsenal.
Next time you approach the rack, resist the urge to rush. Take the ten seconds required to check your boxes. Once you have established the tension, own the hinge, and let the results speak for themselves. Your hamstrings, glutes, and lower back will thank you for the diligence.